Description
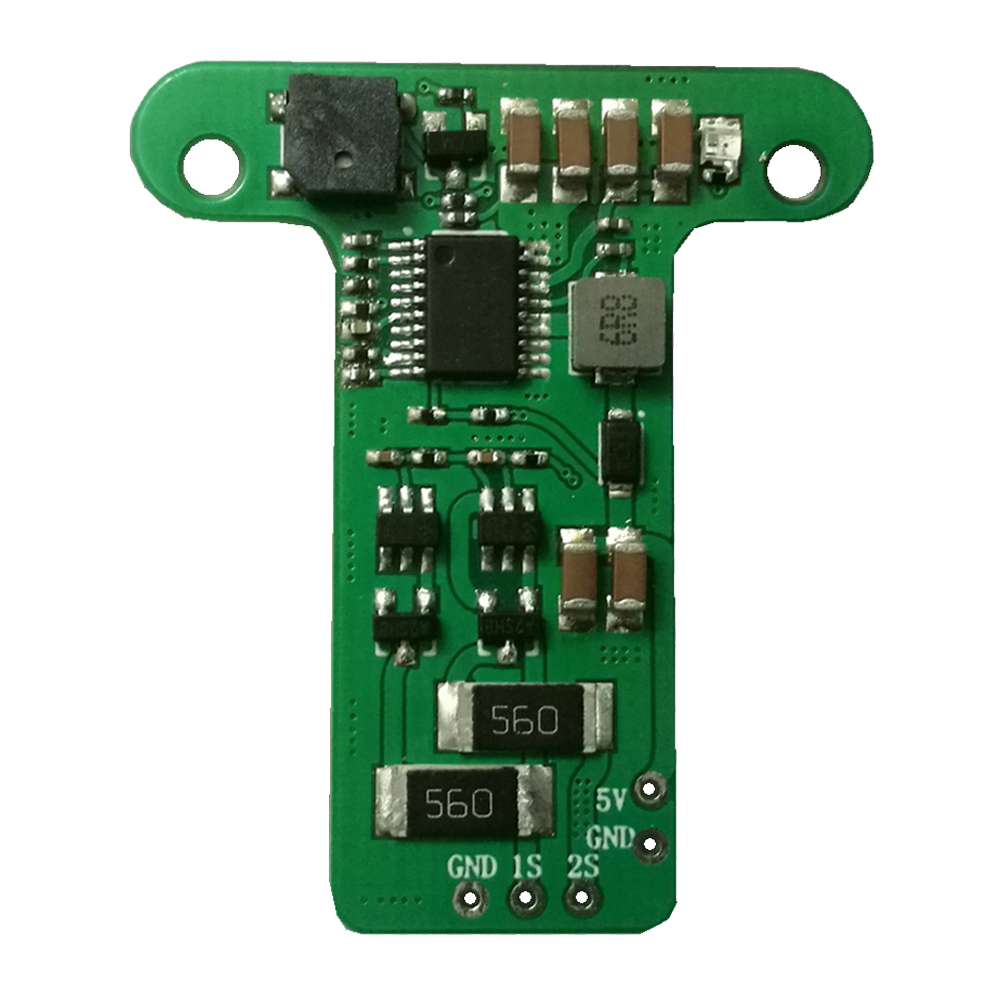
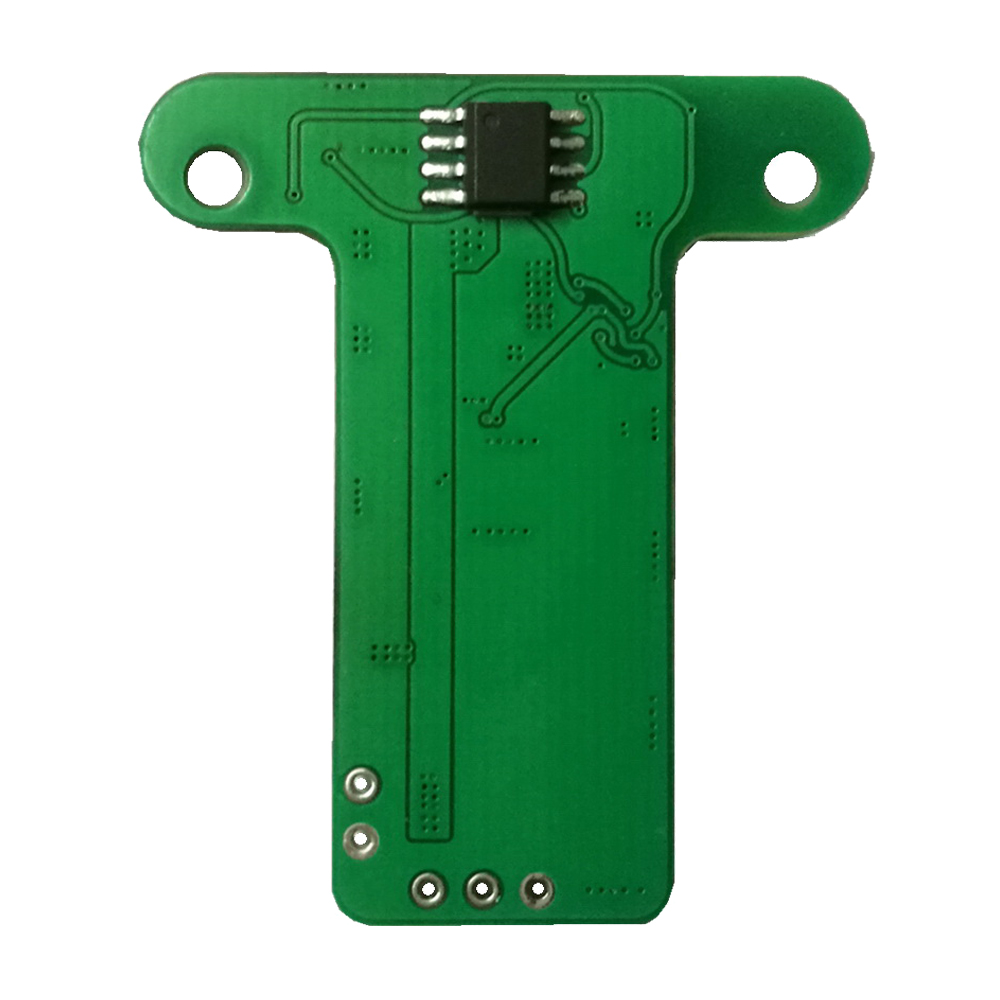
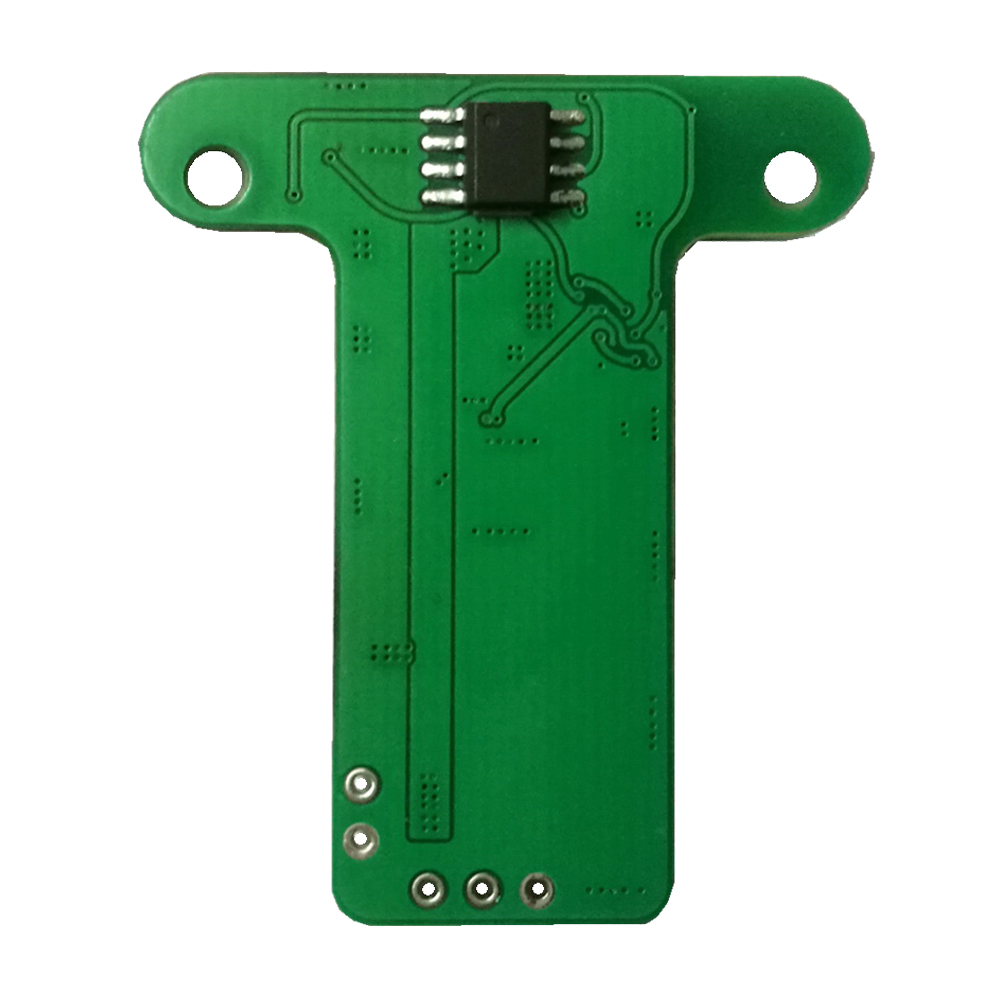
URUAV TM-Charger Board 5V 10W Built-in Charger Module for FrSky X9 Lite X9 Lite Pro Radio Transmitter
This charging module is compatible with the Frsky x9 lite x9 lite Pro 18650 battery pack with built-in undervoltage lockout, overvoltage protection and overtemperature protection. It can be fixedly installed on the x9 lite x9 lite Pro remote control main board. The charging part of the charging module and the remote control can share the negative pole. The wiring is simple and reliable. After the module is installed, a 5V conventional USB charging cable can be connected to the remote control. The micro USB port is used to charge the battery in the remote control battery compartment. You no longer need to remove the battery, it will fully charge your battery after about 2-5 hours. This charging module is suitable for internal charging modification of the Frsky series and other brands using a 7.4V lithium battery powered remote control.
Description:
Brand Name: URUAV
Item Name: TM-Charger Board
Input voltage: 5V
Input current: 0.5-2.1A
Input capacity: 10W
Charger current: about 1.2A
Size: 40*35mm
Weight: 3g
Charging mode: balance charge (Extend battery life)
Suitable for FrSky X9 Lite X9 Lite Pro 18500/18650 battery
Charging method: adaptive multi-segment charging (protecting the battery)
Colorful LED is always on: charging
Colorful LED is off: the charging is completed. After the charging is completed, the buzzer will stop after 60 seconds.
Installation steps:
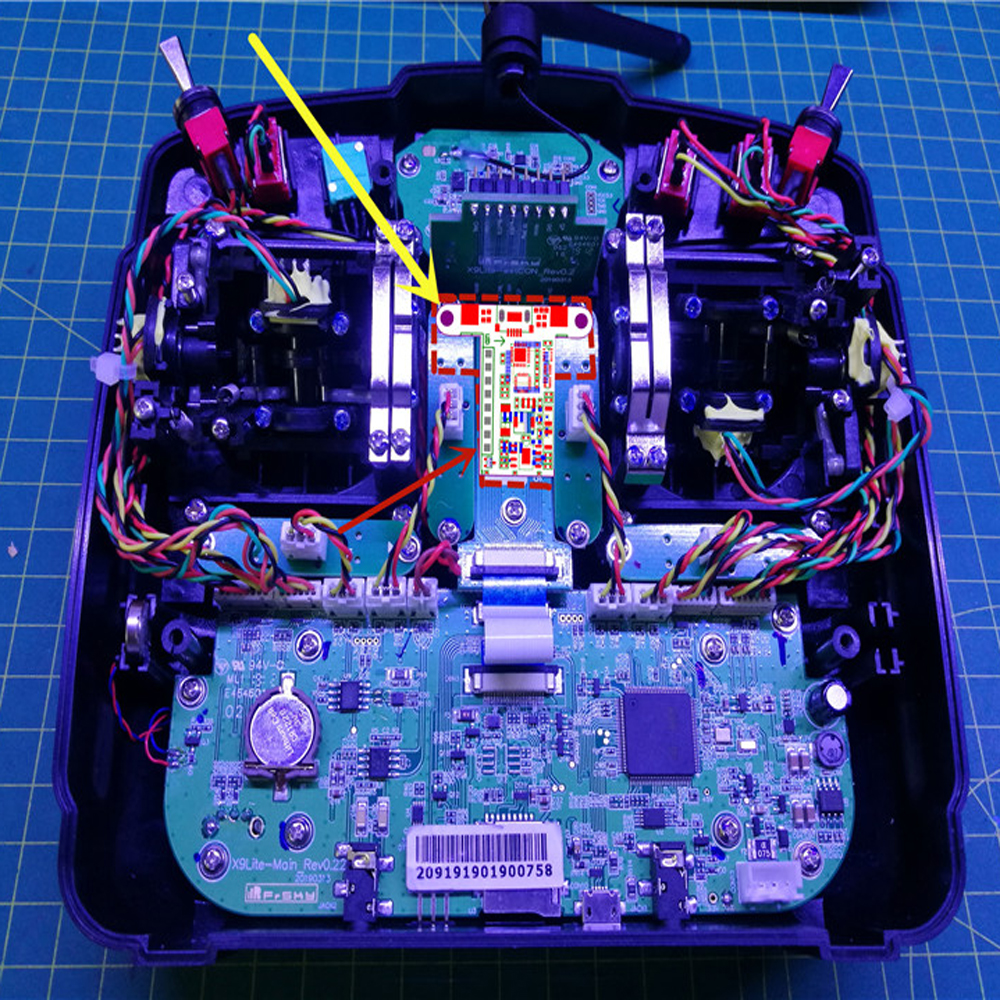
1. Remove the back cover, unscrew the two screws as shown in the arrow, and install the charging plate at this position and tighten the screws.
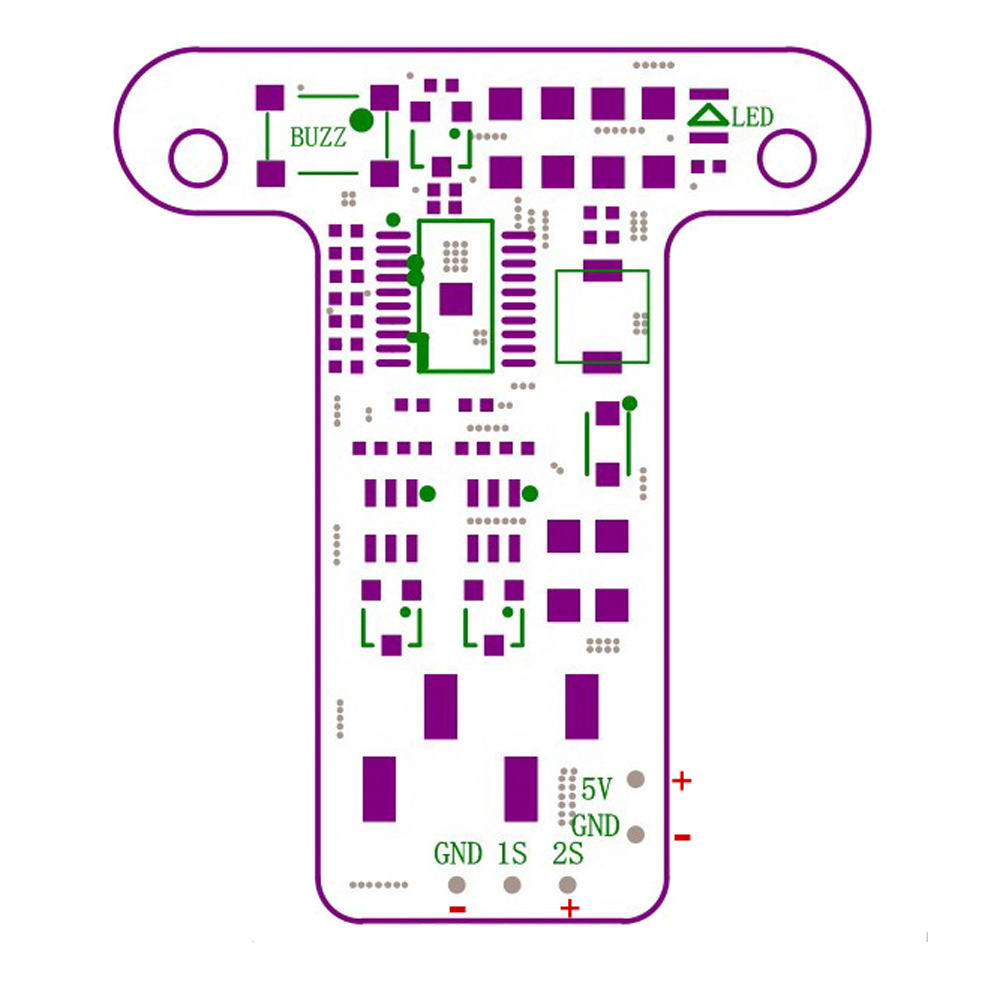
2. After installing the charging board, we take out the attached wire package and solder or break the skin (battery interface) to connect the lines as shown in the figure.
If you choose the broken wiring at the battery, please wrap it with electrical tape and do insulation treatment.
3. Before installing the back cover, we can plug the standard charger 5V into the micro port of the remote control. At this time, the colorful lights on the charging board flash to charge the battery in the battery compartment.
Note:
After installing the charger, the following conditions will occur (does not affect the USB charging when the computer is turned off, the remote control will not be turned on. (The USB can be turned on after unplugging the USB)
When USB is plugged in while the power is on, the remote will put up a menu asking if you want to turn on the analog joystick or enable the mass storage device. (Select a large-capacity storage device to use normally, you can fly while charging)
Package included:
1 x TM-Charger Board
2 x M2*10 flat head tapping screw
4 x 24AWG 100mm long silicone wire
